Non-Personal Mailbox: Mail (macOS)
In this manual you can read how to configure a non-personal mailbox on a macOS system using Mail. A non-personal mailbox can be a group or department mailbox for example.
Using a NPM means:
- You can read mails from a group mailbox and send replies using the name of that mailbox (i.e. “ICT Servicedesk”)
- Send items will be saved in the group mailbox send folder, not your personal one
- You can set up colored categories that are the same for everyone using the group mailbox
- The contact list of the group mailbox is also available as address list
- For every new mail you will see a notification at the bottom of your screen
Note that this will only work for mail, and will not link the NPM-calendar. If you want to use the calendar please use Outlook.
-
Step 1
Before you start you need some information which you will use later on.
Open Outlook on your PC and in the ribbon go to Address book.
-
Step 2
Click More columns and search for the NPM that you want to add (in this case servicedesk@uu.nl), right-click and choose Properties.
-
Step 3
Here you will see the NPM alias, write this down as you will need it later on.
-
Step 4
Open the Mail app on your mac.
Click Mail and select Preferences
-
Step 5
Open the Accounts tab in the new window and click + in the bottom of the column.
-
Step 6
Selecteer Use different account…(“Andere Mail-account”) in the pop-up windows and click Continue.
-
Step 7
Enter the following:
Name: Enter the desired name or description for the NPM.
Email Address: Enter the mail address of the NPM.
Password: Enter your the password of your personal Solis-id
Click Sign in
-
Step 8
More fields will become available, including a warning (which can be ignored). Enter the following information:
Username: Your personal UU-mail address, followed by a slash and the alias of the NPM as mentioned earlier, e.g. “J.Doe@uu.nl/NPMxxxxxx”.
Server incoming mail: outlook.office365.com
Server outgoing mail: smtp.office365.com
Click Log in
-
Step 9
Click Done
-
Step 10
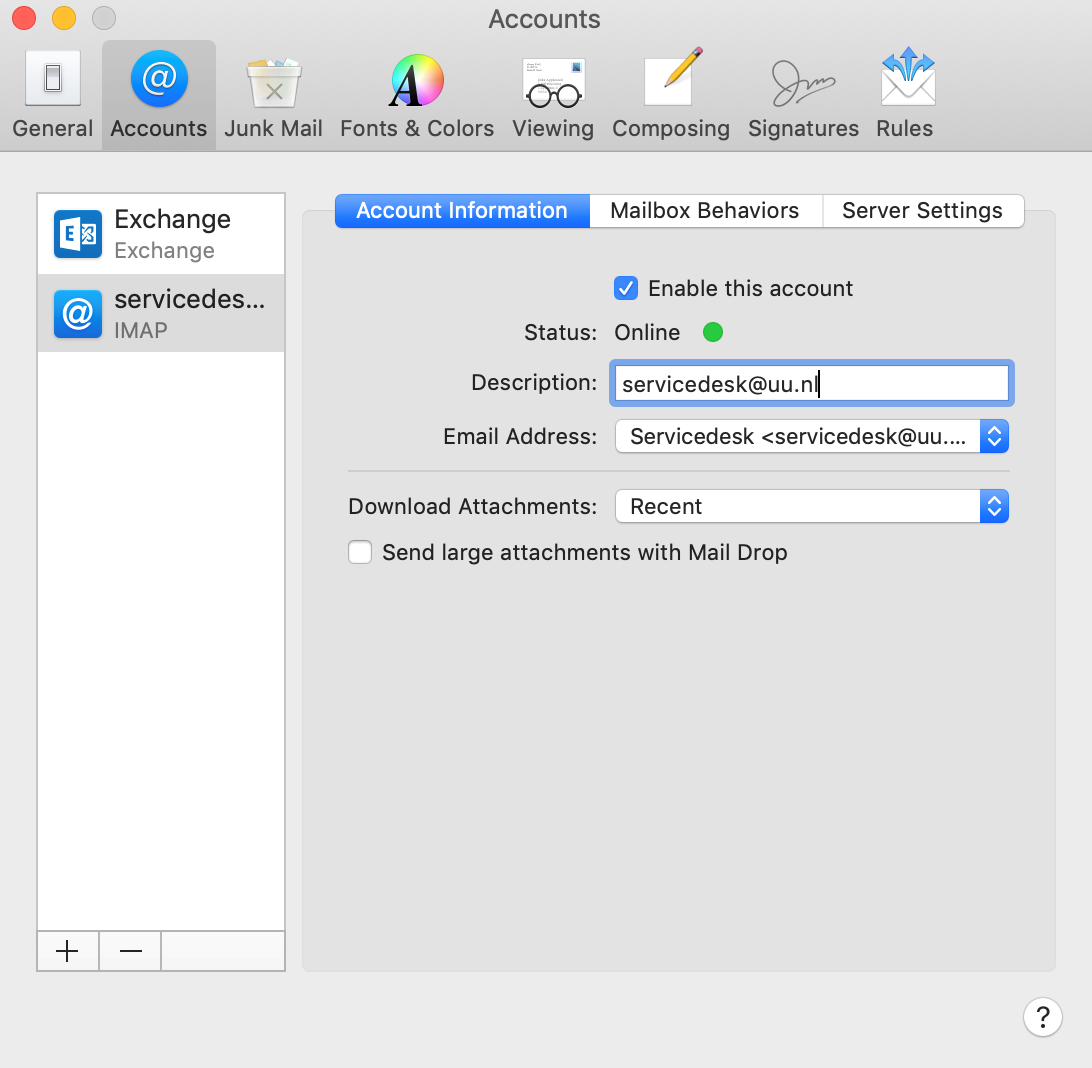
Select the newly added mailbox named “Uu”. Change the Description field to the name of the NPM.
-
Step 11
Select the Server Settings tab and change the following settings:
Incoming Mail Server (IMAP):
- Uncheck the Automatically manage connection settings box and change the Port to 993
Outgoing Mail Server (SMTP):
- Remove /NPMxxxxx from the User Name field so that only your email address remains.
- Uncheck the Automatically manage connection settings box and change the Port to 587
Verify your settings with the screenshot and click Save
The NPM is now set up in the Mail app.
Last modified: 3/10/2019


